We recommend super-fast installations using current lances.
Analog
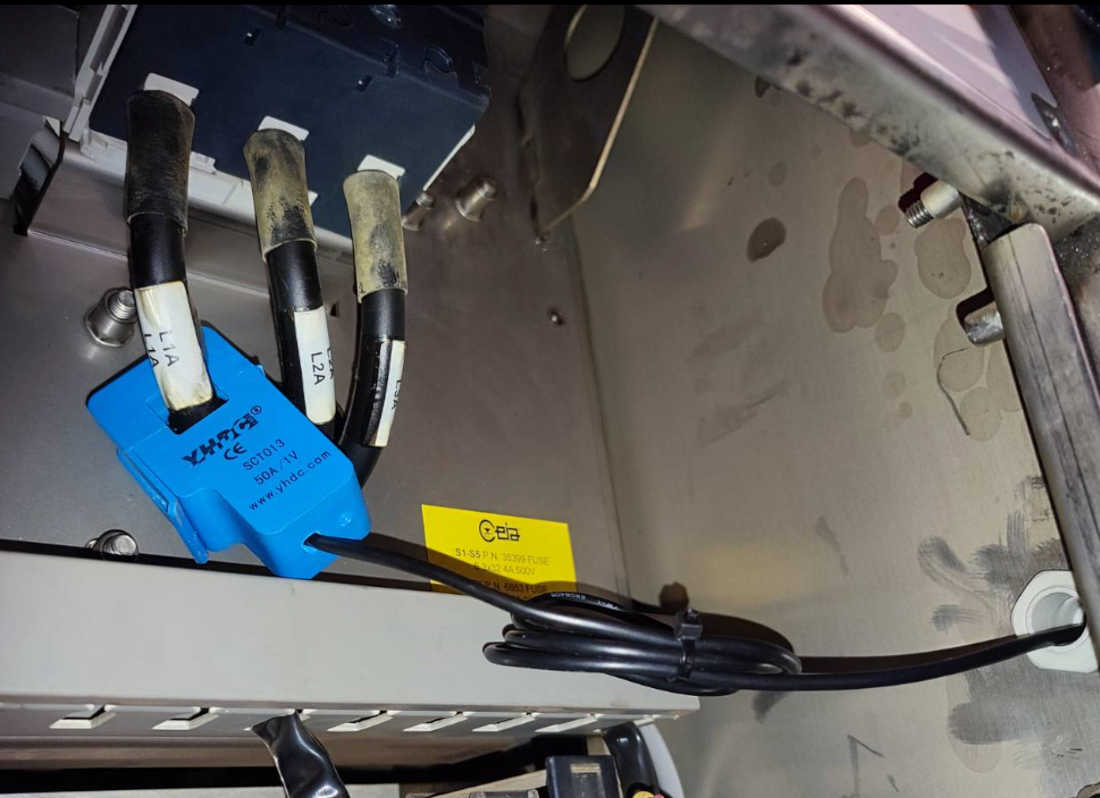
Connecting a logger has never been so simple, you connect the logger and the machine runs normally at the same time. This type of installation is the simplest and requires no machine downtime.
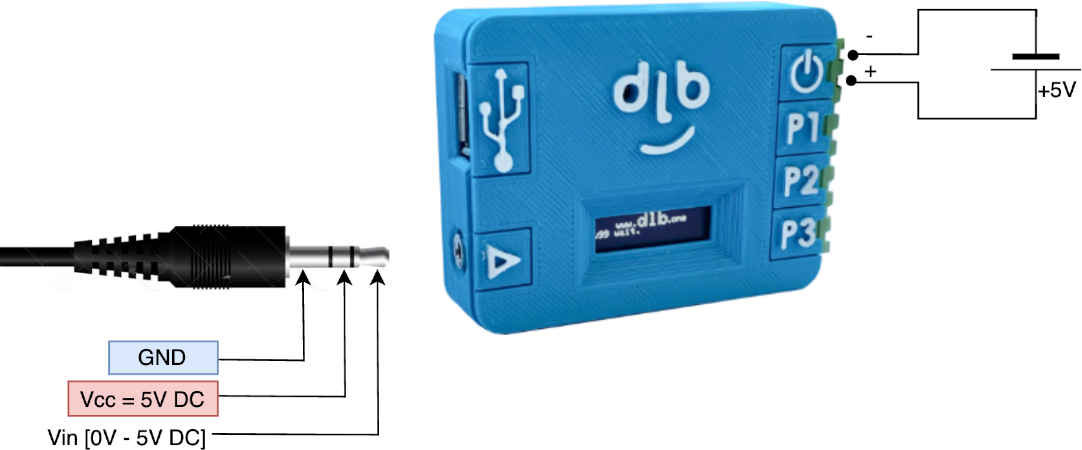
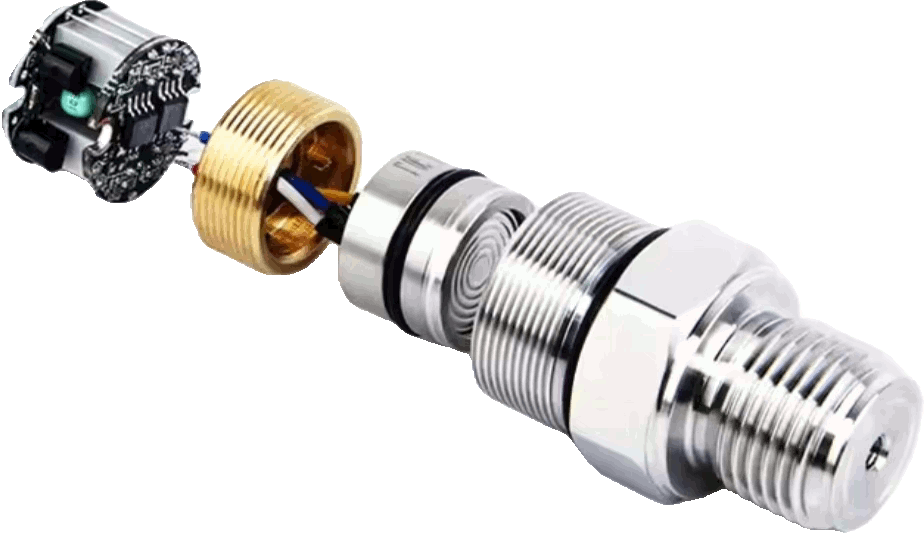
A lot of devices are compatible with the analogue input, e.g. pressure, temperature, flow and current measurement sensors.
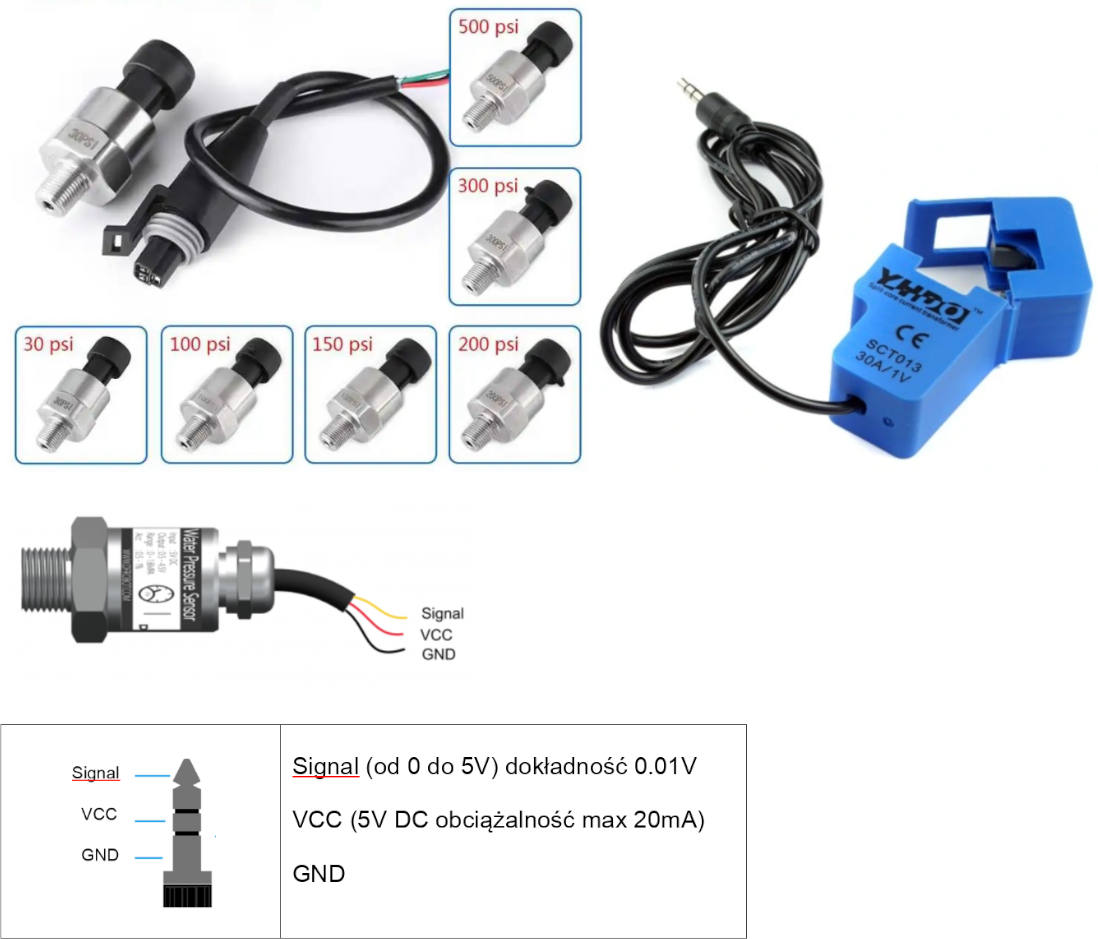
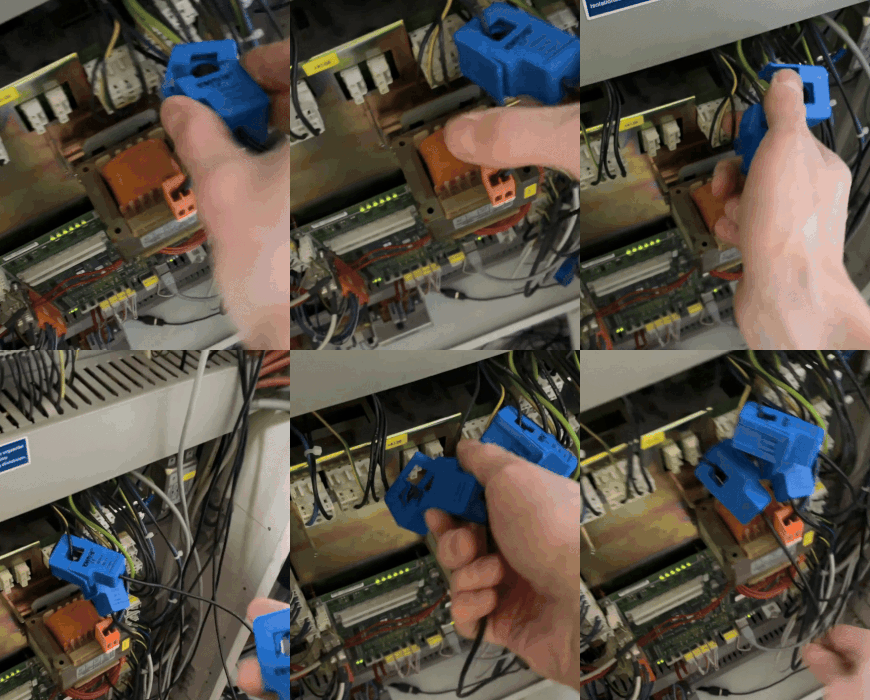
Put the lance on the cable and jack into the logger.
That's all, it's already working.
Analog instalation
Analog configuration
The analog input of the electrical device is highly convenient and significantly accelerates the installation process on the machine. However, it is essential to properly configure the analog input. Filter values should be adjusted experimentally for optimal performance. Access to the filters is available through the device's web-based configuration page.

The graph shows the voltage over time (2). Setting the activation voltage (1) appropriately enables the device to enter "WORK - PRACA" mode (3) and (5), while a voltage drop triggers the opposite reaction, placing the device in "LOAD - ZALADUNEK" mode (4) and (6). The device's response times to changes are defined by the times t1 and t2.
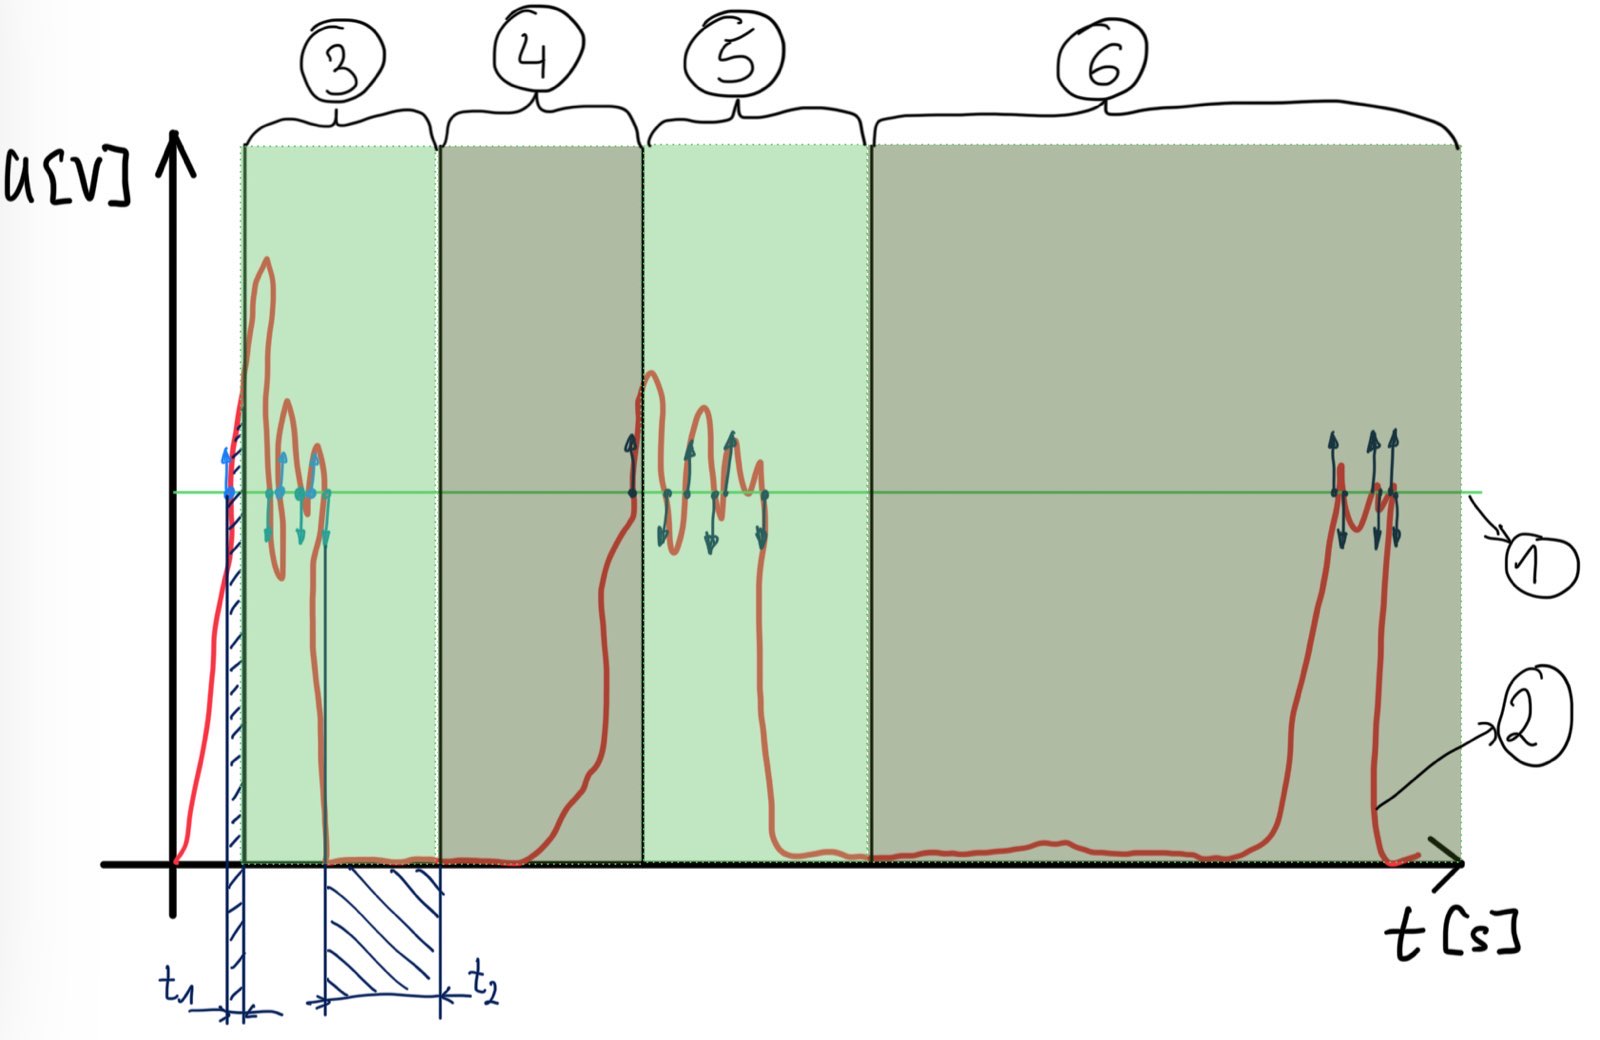
t1 -> "Filter P1"
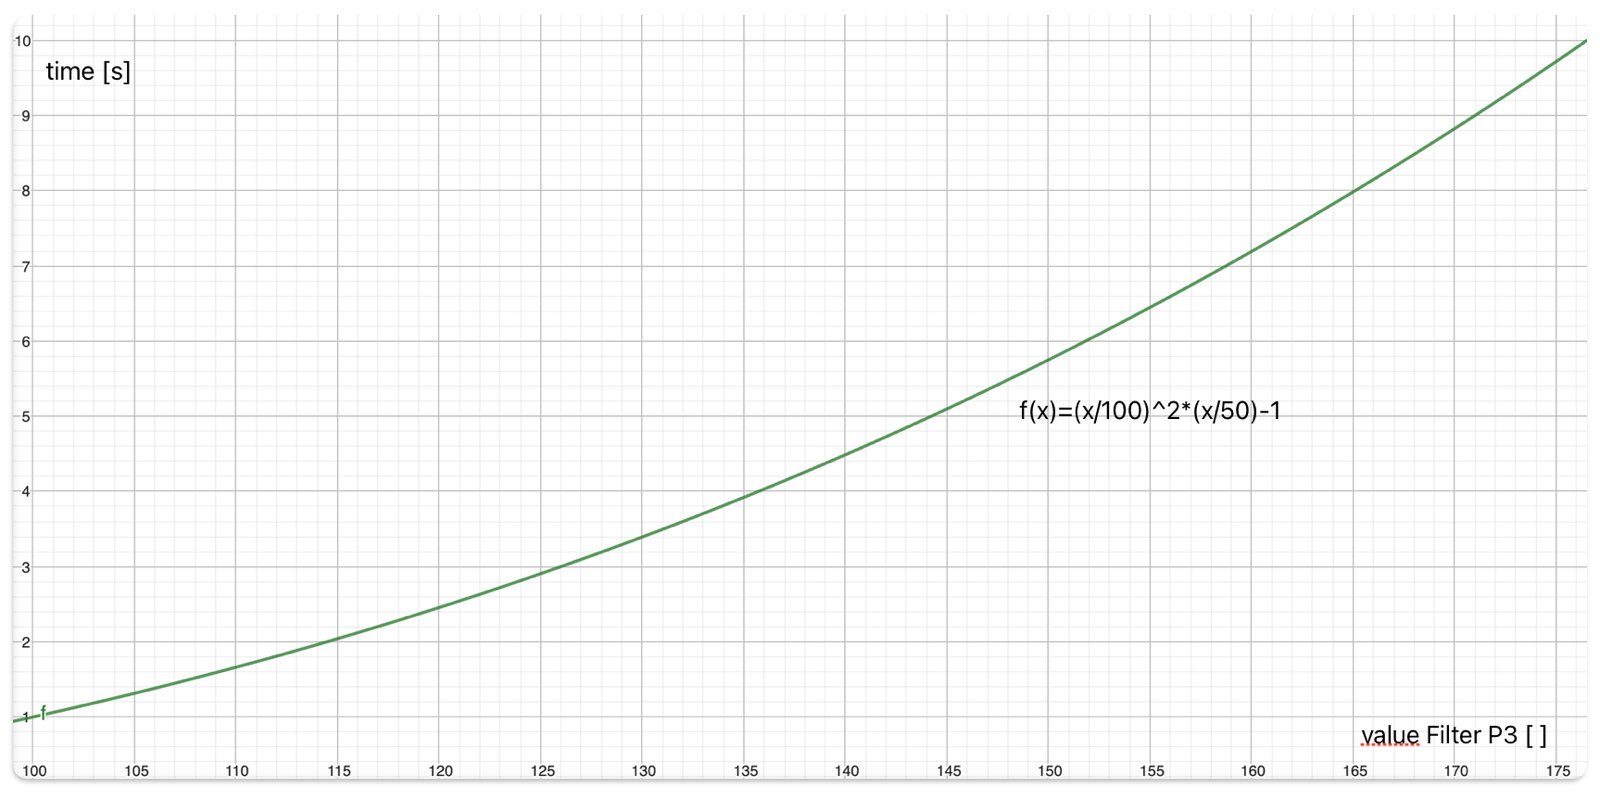
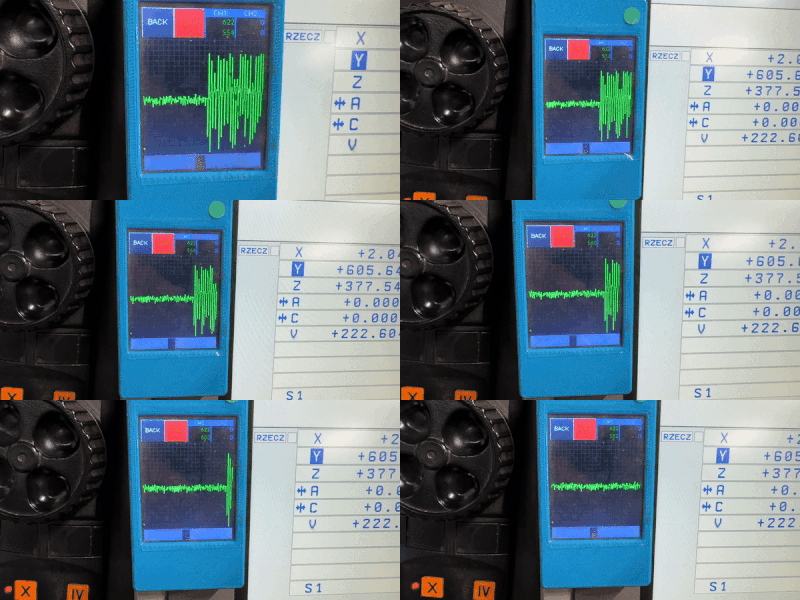
t2 -> function of "Filter P3" -> as shown by the waveform in the image below....

Analog shake option
We enable the 'Analog' options on the logger’s configuration page. It is necessary to activate the analog option and set the 'Analog Threshold' for the analog signal (2). The 'Shake Threshold' corresponds to the dA value (1) shown in the graph below. Activation time t1 for "WORK - PRACA" mode (3) and deactivation time t2 "LOAD - ZALADUNEK" mode (4) are the same as for the options above.


dA - "Analog threshold"
t1 -> "Filter P1"
t2 -> function of "Filter P3" -> as shown by the waveform in the image below....

